

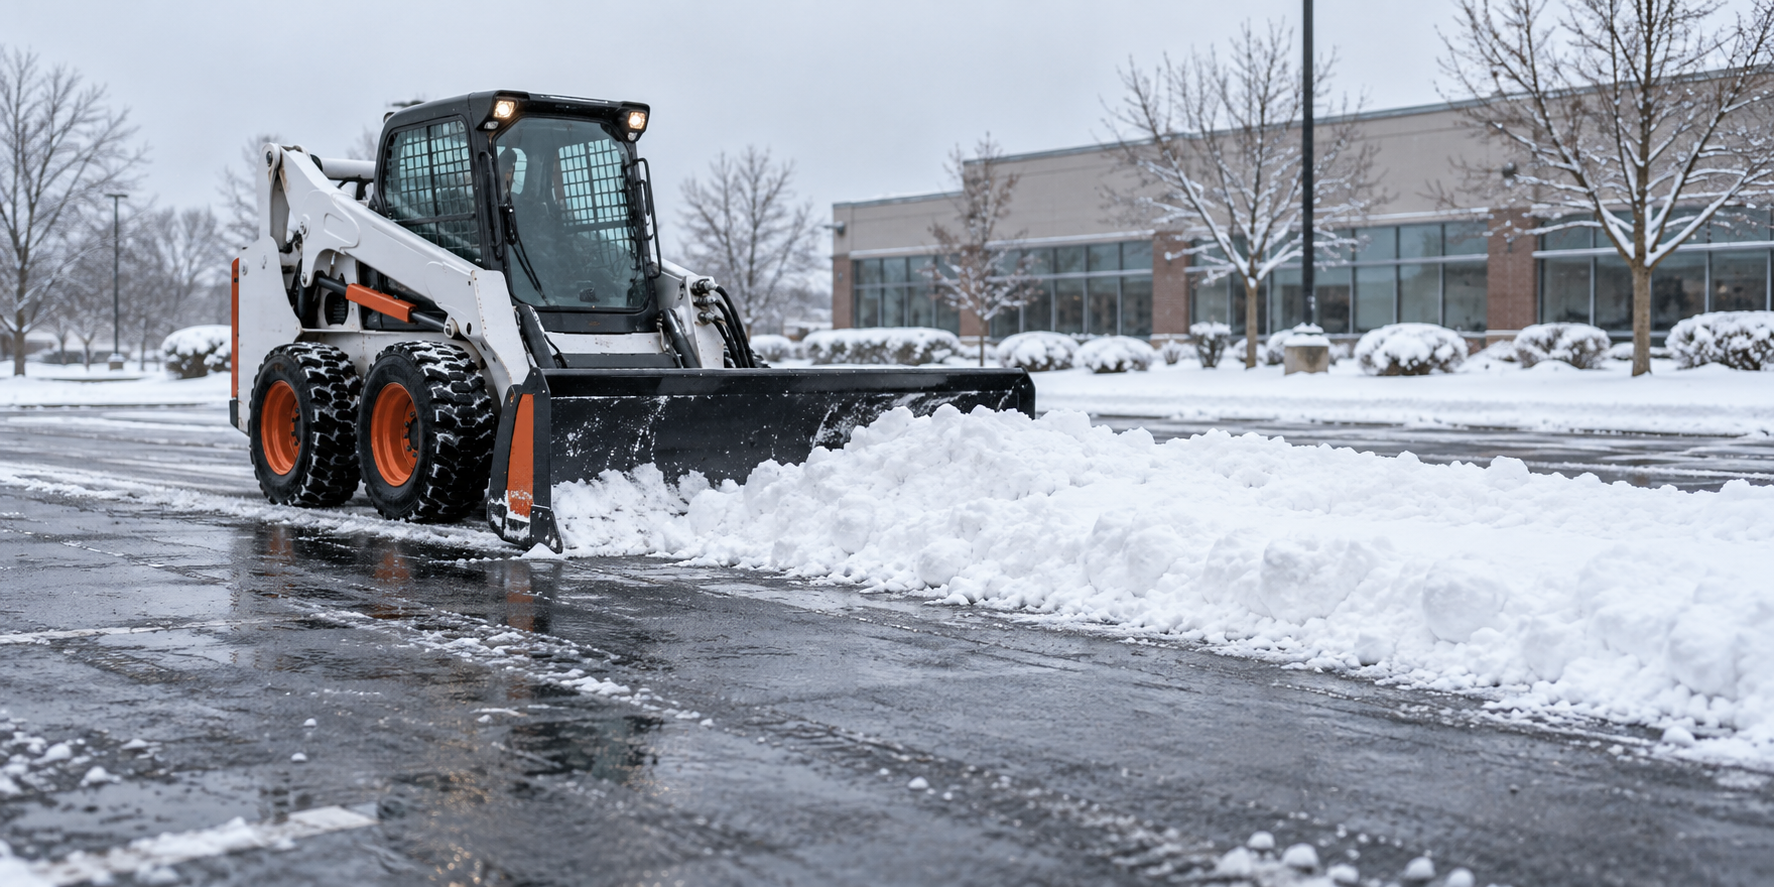
Before the Storm! Here's the plan...
The snow melts, and you can finally see the whole parking lot again.
There is a chipped curb near the entrance. A parking stop has moved. One end of a speed bump looks different than you remember.
Were those things already damaged? What happened during the storm? And if something was damaged during snow service, who handles the repair?
Those are easier questions to work through when you have a clear agreement and a few good photos from before the first truck arrived.
Here is what to review.
1. Know what you are paying for
Start with the route people actually use. Does the agreement cover the parking lot, the sidewalk connection, the entrance and any steps? Are there areas your maintenance team still needs to handle?
Then check the service details:
What triggers the first visit?
When does the contractor return if snow keeps falling?
Is salting included, billed separately or waiting on your approval?
Who checks changing conditions and arranges treatment for refreezing?
What work creates an additional charge?
An hourly rate, a per-visit price and a seasonal agreement can cover different things. Read the price alongside the included areas, visits and treatments.
The truck leaving the property also does not mean conditions will stay the same. Decide who handles the next check.
2. Give the snow somewhere to go
Choose storage areas before the operator has a full blade and needs a place to put it.
Mark them on a property overview. Consider entrances, pedestrian routes, accessible parking, visibility, drainage and the parking spaces you need to keep available.
Then picture the pile melting. Where will the water travel? Could it cross a sidewalk or collect near an entrance?
Also ask what happens when the storage area fills up. Moving snow elsewhere on the property and hauling it away are different jobs. Know who approves that work and how it is priced.
3. Talk about damage before there is a damage discussion
Do not assume that paying for plowing includes repairing everything you find afterward.
Work through the features on your property:
Curbs: Who assesses a chipped or broken section? How is responsibility for repair determined?
Parking stops: Who resets and secures a displaced stop? What happens if the stop or its anchors are broken?
Speed bumps: How will operators identify and approach them? Who handles repair, replacement or reinstallation if needed?
Read exclusions for existing deterioration, concealed obstacles and other site conditions. Ask questions about wording you do not understand before approving the agreement.
A lower price is easier to evaluate when you also understand the scope and the responsibilities you retain.
4. Give yourself something better than memory
Before service begins, take dated photos of intact features and existing damage. Include curbs, parking stops, speed bumps, pavement edges, utility covers and sidewalk transitions.
For each location, take two views: a wide photo showing where it is and a closer photo showing its condition. Number the locations on the property overview so someone else can find them.
Share that record with the contractor. Walk the site together where practical, agree on suitable markers and confirm who maintains them. Ask how the information reaches every operator who might service the property.
“Location 7 looked like this before service” is a more useful starting point than “I’m pretty sure it was fine.”
The photos provide context. They do not, by themselves, establish what caused later damage.
5. Check the insurance behind the work
Request current evidence of insurance and have your insurance adviser review whether the coverage fits the snow and ice work, vehicles and subcontractors involved.
Ask whether your owner or management company needs additional-insured protection and what documentation would establish it. A certificate alone may not answer every coverage question.
Keep insurance questions separate from the contractor’s repair obligations. Both need to be understood.
6. Keep the record going after service
Save visit times, areas serviced, treatments and reported concerns.
If you discover damage, photograph it safely, record the location and date, compare the earlier photos and report it through the agreed process. Coordinate inspection and documentation with the contractor and insurer where applicable before permanent repairs, while addressing immediate hazards.
Before the next storm, put the agreement, marked property overview, dated photos, insurance information and contact details in one folder. Use it to work through any unanswered questions with your contractor.
Your property needs service during the storm. This preparation helps you understand what you purchased and what happens afterward.
Your before-the-storm checklist
Confirm the areas, visits and treatments included in the agreement.
Mark snow-storage areas and consider where meltwater will go.
Clarify damage exclusions and the process for assessing and arranging repairs.
Take dated wide and close photos, matched to locations on your property overview.
Agree on suitable obstacle markers and how operators receive the site information.
Have your insurance adviser review coverage and any additional-insured requirements.
Keep service records and confirm the contact and reporting process for concerns.
This is general planning guidance. Responsibilities depend on the agreement and circumstances. Review property-specific questions with your contractor and insurance adviser.